NanoPI R2 - Getting started
For a little while I have had this NanoPi R2S Plus laying around.
I tested FriendlyWrt and it is pretty cool. Basically, you can have a router-like computer where you can do many things:
- Host files
- Host a Netflix-like home streaming service
- Create/manage personal VPNs
- Manage network and network rules
All this in a graphical environment called LuCI. But today I would like to talk about getting started with the Ubuntu image.
From their official images, there is an interesting 64-bit Ubuntu image file based on Ubuntu Core 24.04 that I wanted to try.
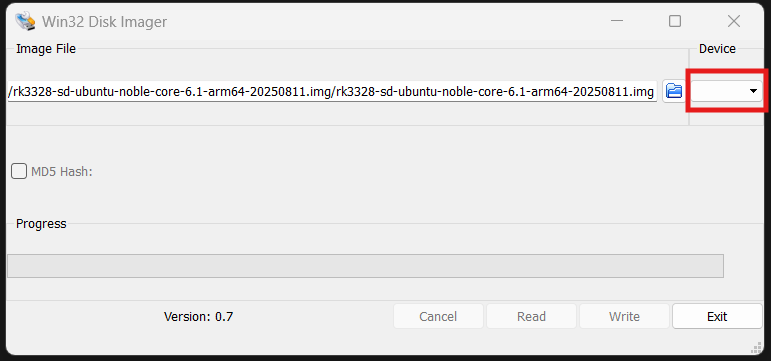
First of all, you will need to download the image and write it to a microSD card (recommended 8GB or larger) using Win32DiskImager. It is pretty straightforward. After that, you will insert the microSD card into the NanoPi and power it up.
Image bellow show the Win32 Disk Imager. Don’t forget to select the correct device. Or it could be deadly!!!
Initial Setup
After connecting the USB debug port and using a terminal such as PuTTY, you will get a Linux terminal (use Baud Rate: 1500000 bps). For this Ubuntu image, the default credentials are:
- Username:
pi - Password:
pi
Network Configuration
Connecting to a router via either the LAN or WAN port will automatically obtain an IP address via DHCP. You can find the assigned IP by checking your router’s DHCP client list, or by using the following command in the Linux terminal:
1
ip -4 addr show eth1 | grep -oP '(?<=inet\s)\d+(\.\d+){3}'
SSH Access
From now on you can use either the USB debug port or SSH. For me, it is convenient to use SSH since I left the NanoPi next to the router. You might need to verify if SSH is already running or install it with these commands:
1
2
# Check if SSH server is installed and running
sudo systemctl status ssh
1
2
3
# If SSH is not installed (Ubuntu Server usually includes it):
sudo apt update
sudo apt install -y openssh-server
Finally, you can connect via SSH:
1
ssh pi@192.168.0.100  # Replace with your NanoPi's actual IP address
That was a short brief of a few commands, so you can get started. To be continued…
Viel Spaß!
Note: This post was originally written by the author. AI tools were used only for grammar correction and formatting.